1. Introduction — From Idea to Live Site in Minutes
If you’ve ever thought “I need a portfolio, but I don’t know where to start”, this is your place.
We’re living in a wild time where ChatGPT-5 can literally create a fully working website for you, and you don’t have to write a single line of code yourself. Combine that with GitHub (to store your site) and Netlify (to host it for free), and you can go from a random idea to a live, shareable portfolio in less than an hour.
Here’s the best part:
- You don’t need to be a coder.
- You don’t need to spend money.
- You don’t even need complicated tools, just ChatGPT-5, GitHub, and Netlify.
In this post, I’m going to show you exactly how I did it and the only “technical” thing you’ll need to do is update one small line in a file so Netlify knows how to build your site. That’s it.
We’re skipping the deep 11ty setup steps here (if you want the full install process, check the official 11ty quick start guide).
By the end of this guide, you’ll have a beautiful, mobile-friendly portfolio live on your own URL, and you’ll see just how little effort it takes.
2. What You’ll Need Before Starting
Before we jump in, let’s get a few things ready. You’ll need:
- A GitHub account – this is where your project will live online before it’s published.
- A Netlify account – this will host your portfolio and make it accessible to the world for free.
- Access to ChatGPT-5 – so you can generate the website’s code without building it from scratch.
- Basic knowledge of creating folders and files – nothing fancy, just enough to know how to copy and paste files into a project folder.
If you’ve never touched 11ty before and want to see the full setup process, I recommend bookmarking the official 11ty quick start guide for later. In this tutorial, we’re focusing on the fast route so you can get something live today.
3. Ask ChatGPT-5 to Build the Portfolio
3.1. Prompt to ChatGPT-5
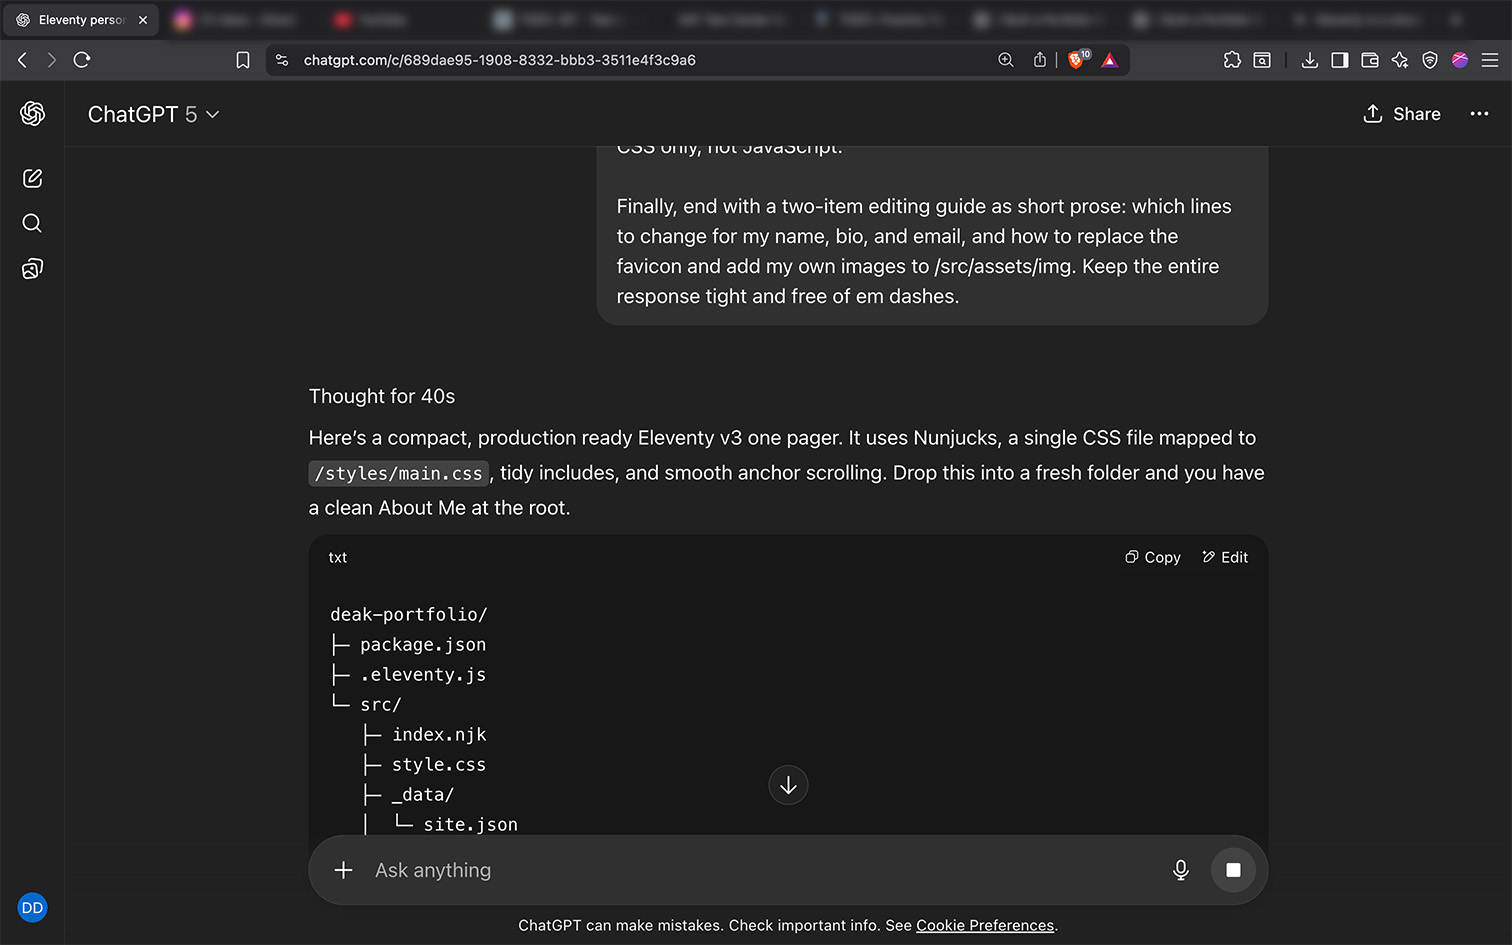
Now for the fun part. Open ChatGPT-5 and give it a clear, simple request for the kind of portfolio you want. Here’s an example that works well:
I want you to act as a hands-on instructor and generate a complete one-page personal site built with Eleventy v3. The site should be a single “About Me” page at the root path. Use Nunjucks templates. Use one small CSS file at /styles/main.css. Do not use Tailwind. Avoid em dashes in everything you write. Give me a short overview, then produce one single fenced code block that includes the exact project file tree, the full contents of every file with clear section headers like “# /path/filename”, and the exact terminal commands I should run in order. The site name is “deak-portfolio”, the author is “Deak David”, and the site URL placeholder is https://example.com. The page content should have a hero with my name, a concise intro paragraph, an “About Me” section with two short paragraphs, a “Skills” strip, a simple “Projects” teaser that links out to external URLs, and a “Contact” section with a mailto link. Keep the wording friendly, human, and concise. Use this structure. Keep it minimal and production ready. Place source files under /src. Create /src/index.njk that extends a base layout. Put the base layout at /src/_includes/base.njk with proper meta tags, Open Graph tags, and a favicon link. Put images under /src/assets/img and include a tiny sample favicon at /src/assets/favicon.svg. Put CSS in /src/style.css with a clean, modern look that reads well on mobile and desktop. The index.njk should include the sections in this order: header with site title and simple nav that anchors to About, Skills, Projects, Contact; hero with my name and a single sentence; about section with two short paragraphs; skills section with a simple inline list; projects section with three external links styled as cards; contact section with a visible email link; footer with copyright and a small “Built with Eleventy” note. Add smooth in-page anchor scrolling via CSS only, not JavaScript. Finally, end with a two-item editing guide as short prose: which lines to change for my name, bio, and email, and how to replace the favicon and add my own images to /src/assets/img. Keep the entire response tight and free of em dashes.
You can adjust the prompt to your style. For example, you could ask for specific colors, a certain font, or even a minimal layout. The key is to be clear about the sections you want and the fact that it should be built with 11ty.
Once you send the prompt, ChatGPT-5 will generate your website’s structure and the code for each file. This usually includes the main folder setup, layouts, styles, and a few example pages.
3.2. Copy the Files into Your Project
Once ChatGPT-5 gives you the full set of files, it’s time to bring them into your own workspace.
Create a new folder on your computer. You can name it something like my-portfolio so it’s easy to find later.
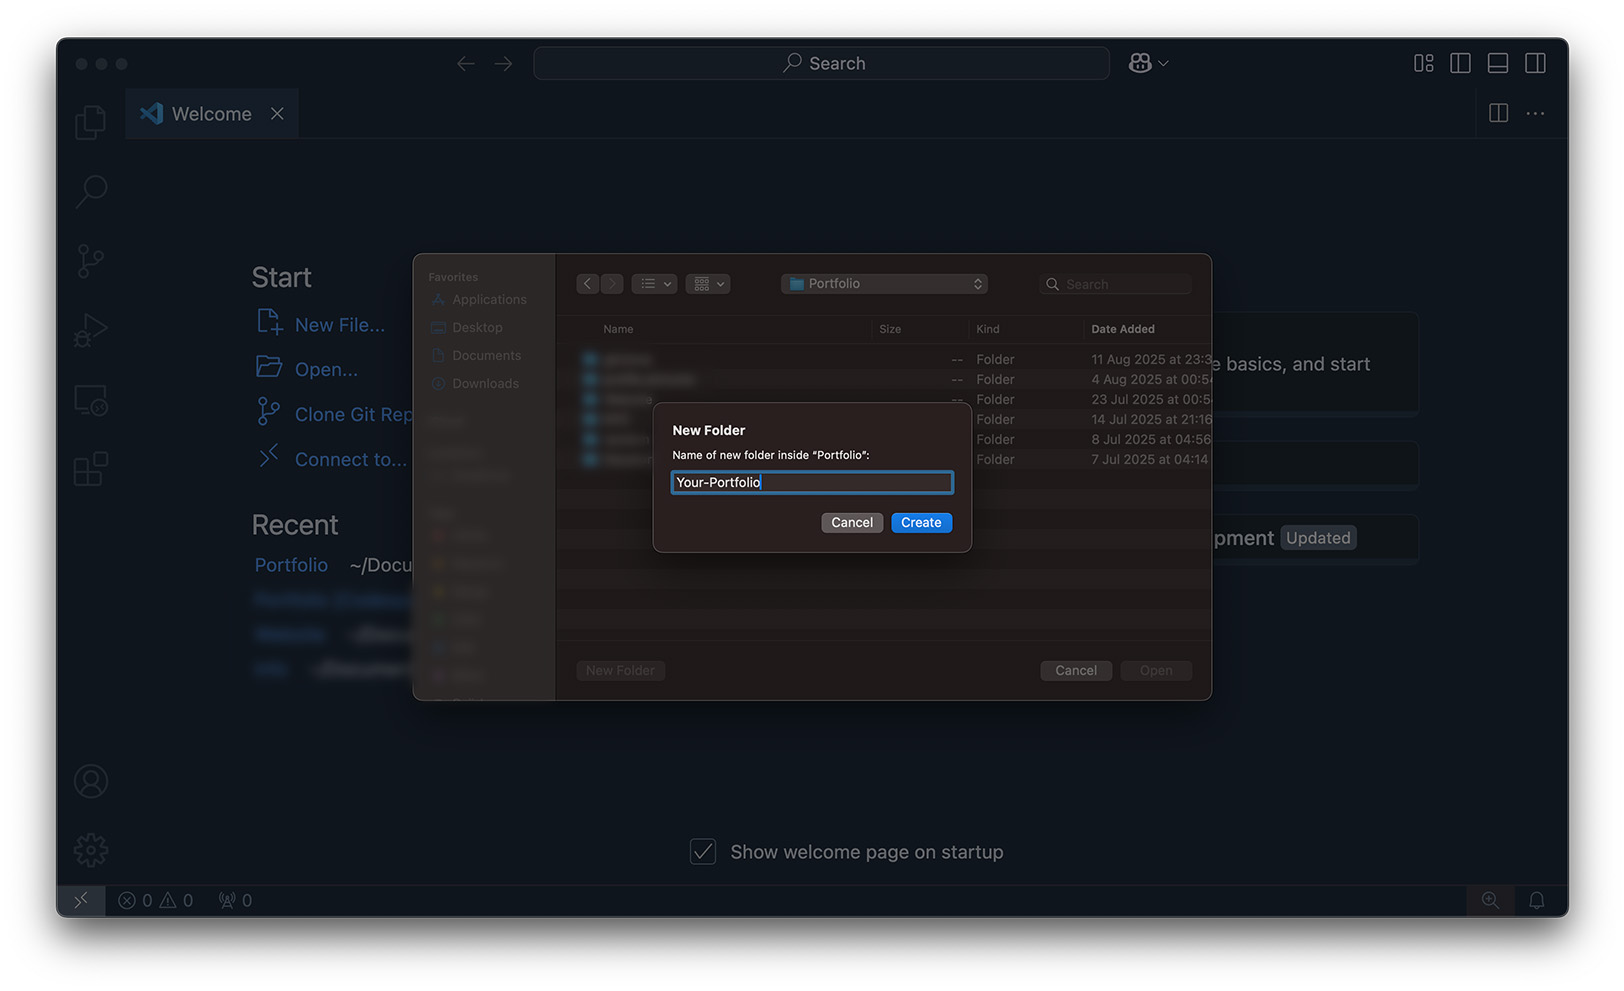 Copy all of the files and folders that ChatGPT-5 generated.
Paste them into your new project folder.
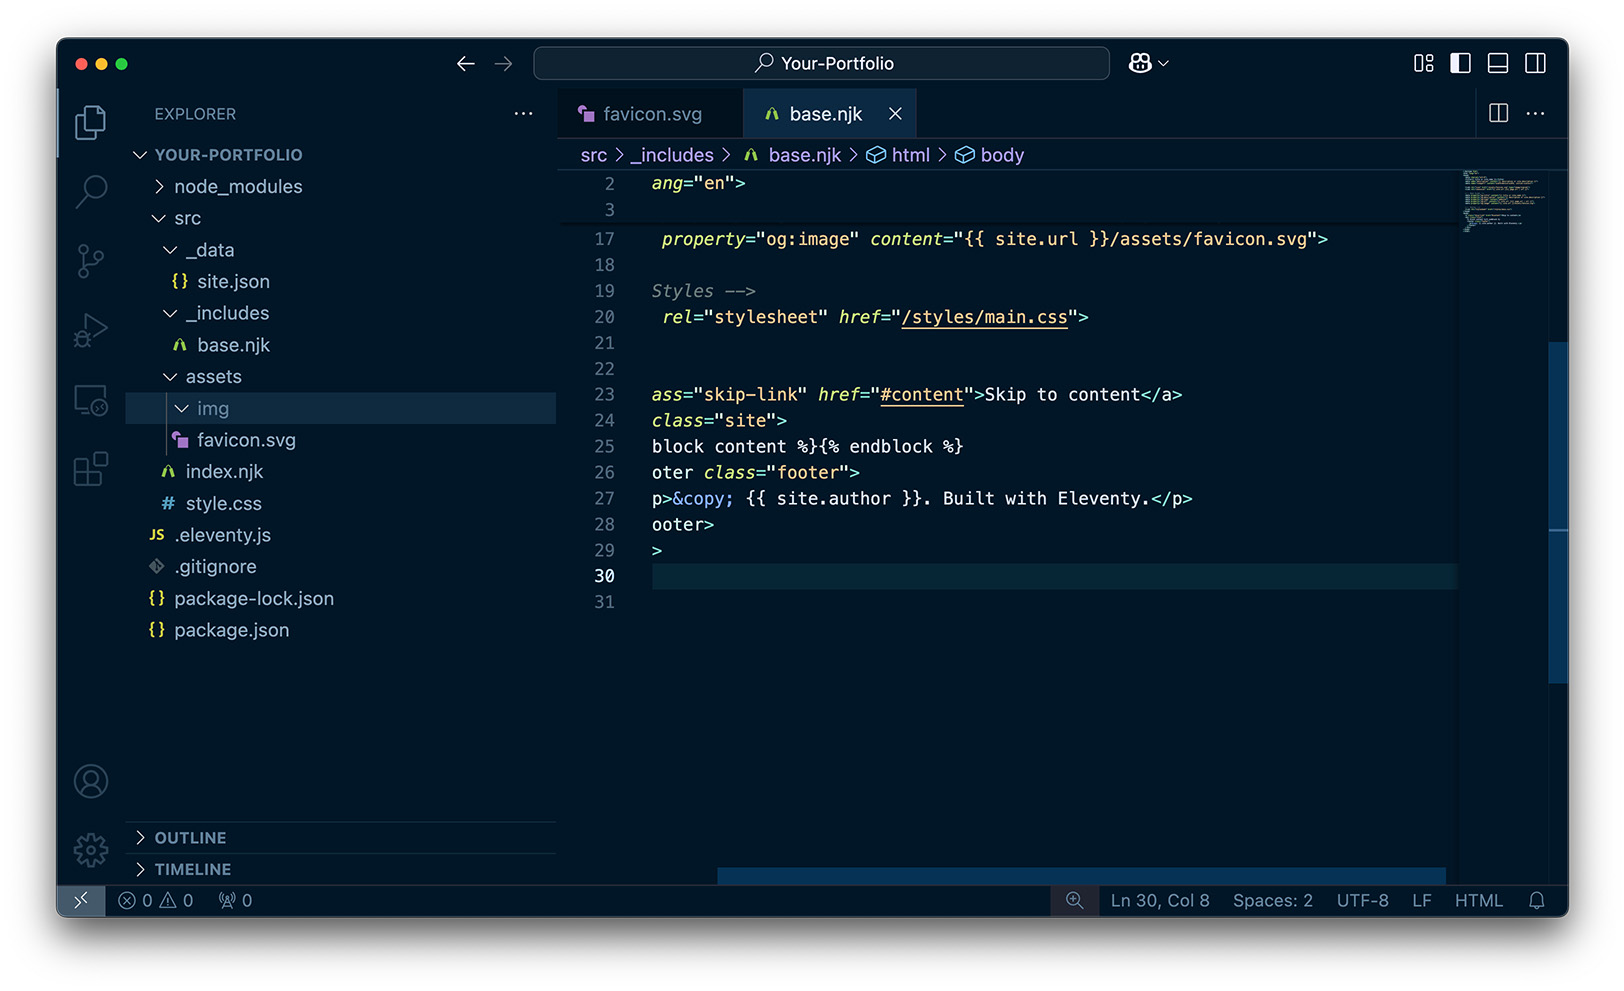
Your folder structure might look something like this:
4. The One Change in package.json
4.1. Why Update the Build Script?
When you upload your project to Netlify, it needs to know how to build your website before making it live. This is where the build script comes in.
A build script is simply a command that tells Netlify how to take your project’s source files and turn them into the final version that visitors will see. If you do not have this script in place, Netlify will not know what to do with your files and the deployment will fail.
In our case, the build script will tell Netlify to run Eleventy and generate the site into the output folder. It is just one small change in the package.json file, but it is the key step that makes everything work smoothly once you deploy.
4.2. What to Change It To
Open your package.json file in any code editor. Look for the "scripts" section and copy-paste the following:
"scripts": {
  "start": "eleventy --serve",
  "build": "eleventy"
}
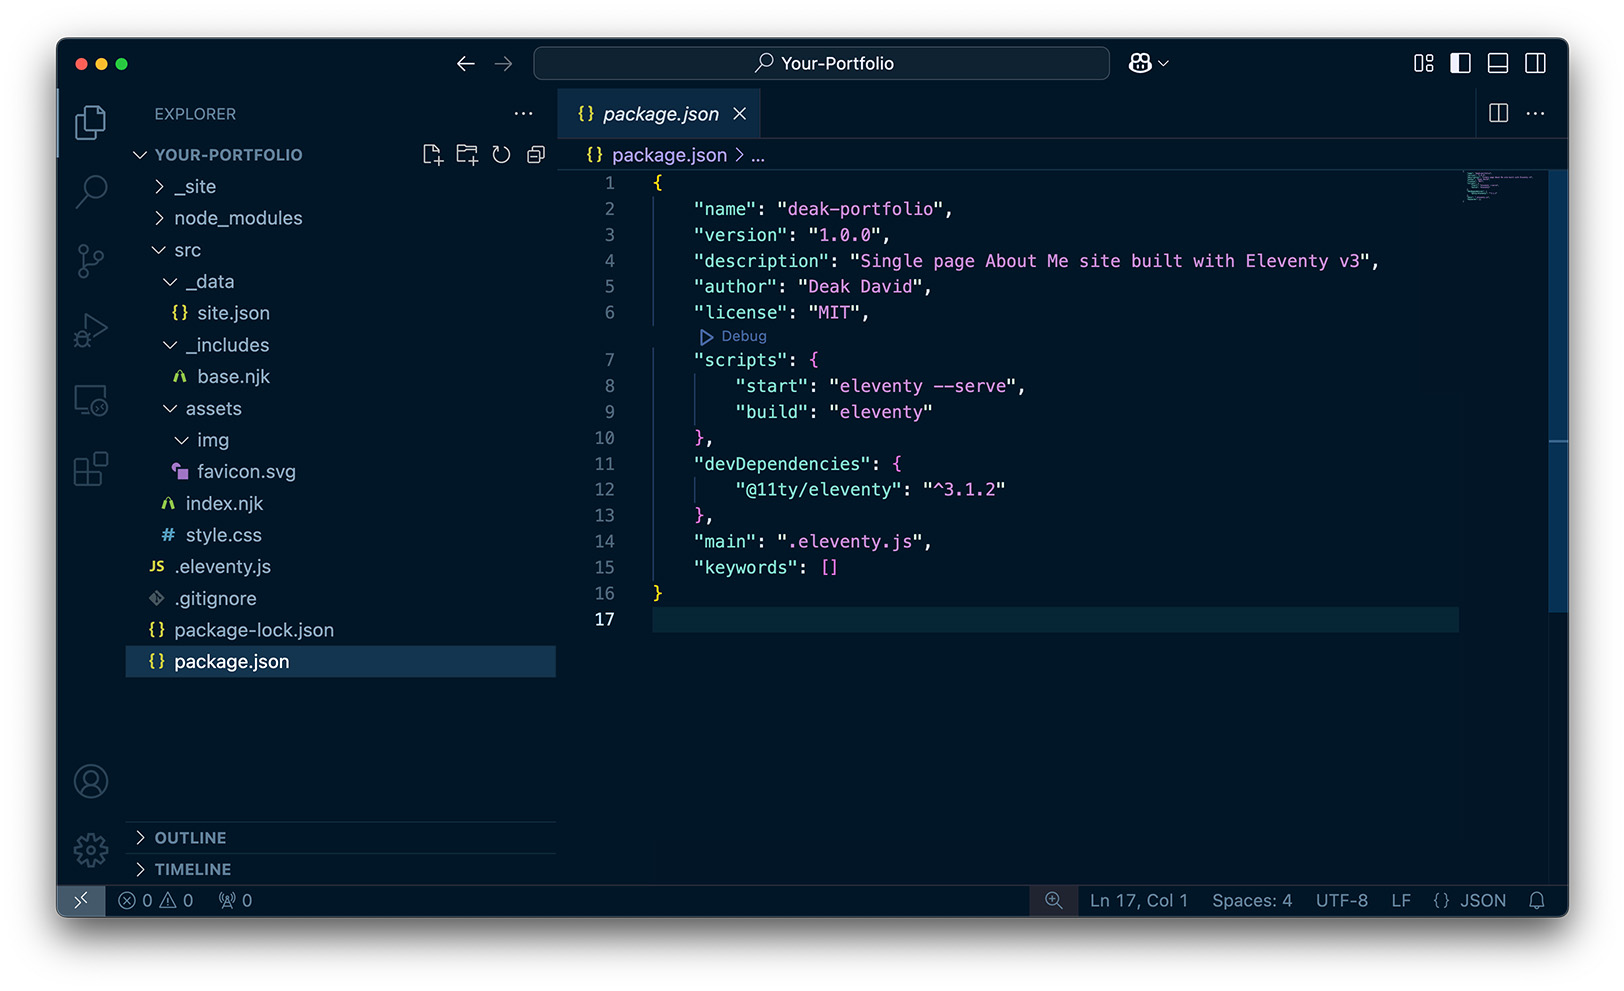
Note: start is for local development, build is for Netlify deployment.
5. Upload to GitHub in Minutes
5.1. Create a New Repository
Go to GitHub and sign in to your account. Once you are logged in, click the New button to create a new repository.
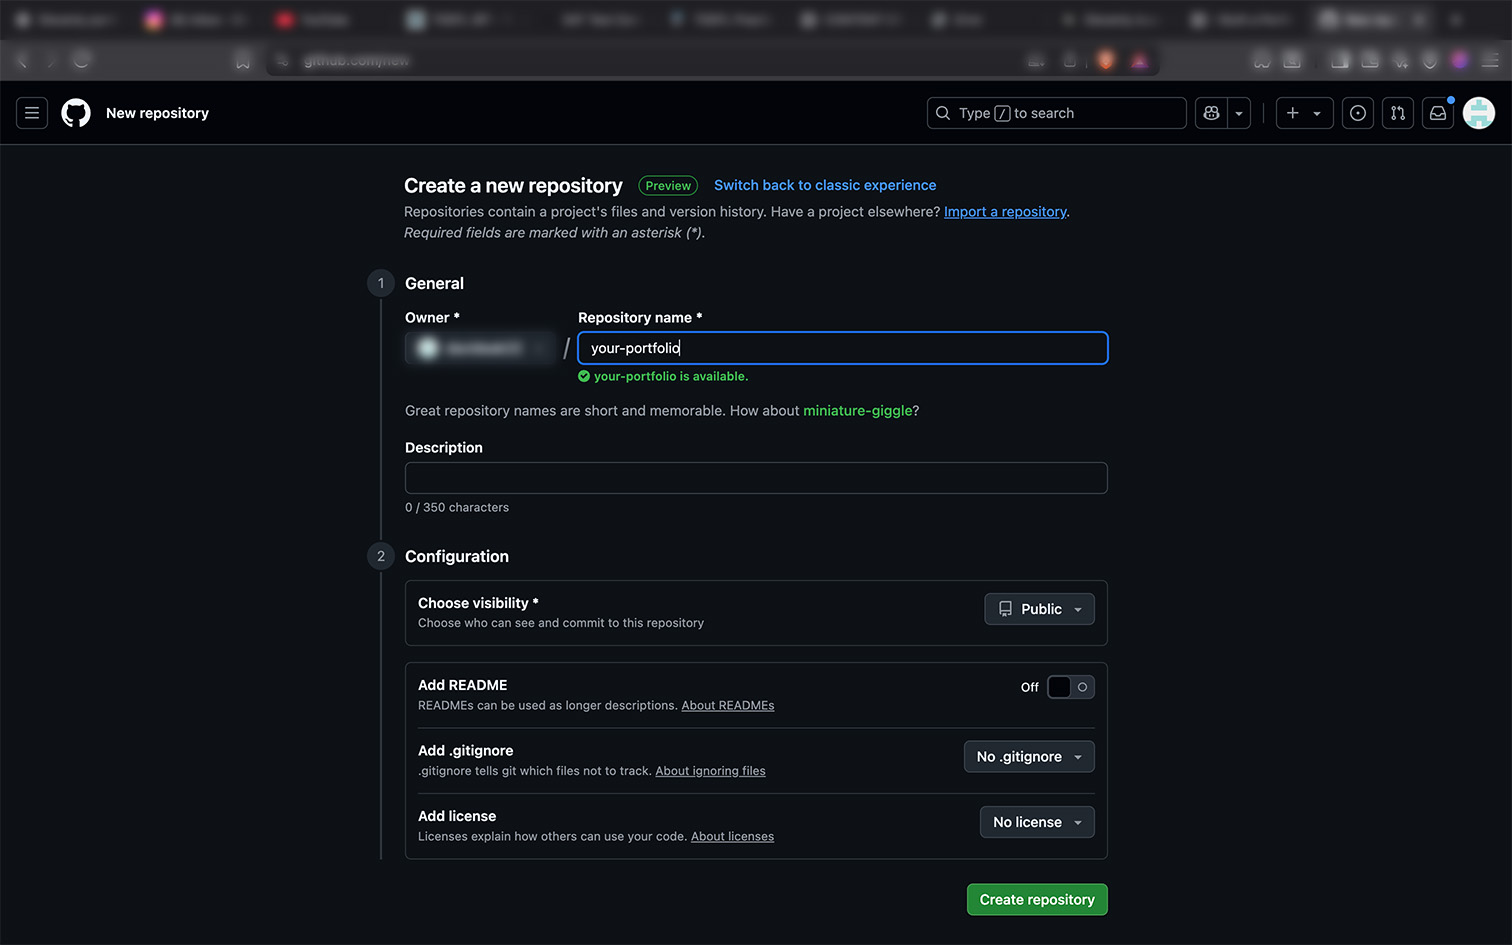
Give your repository a name, such as my-portfolio, and choose whether you want it to be public or private. Public means anyone can see your code, while private means only you and people you invite can access it.
You can leave all other options at their default settings for now. After that, click Create repository.
5.2. Push Your Files
Once your repository is created, you need to upload your project files to GitHub. You can do this in two ways.
Option 1: Drag and drop
-
Open your new repository in your browser.
-
Click the Add file button and choose Upload files.
-
Drag your entire project folder contents into the upload area.
-
Scroll down and click Commit changes to save everything to GitHub.
Note: Leave out the following folders: _site, node_modules
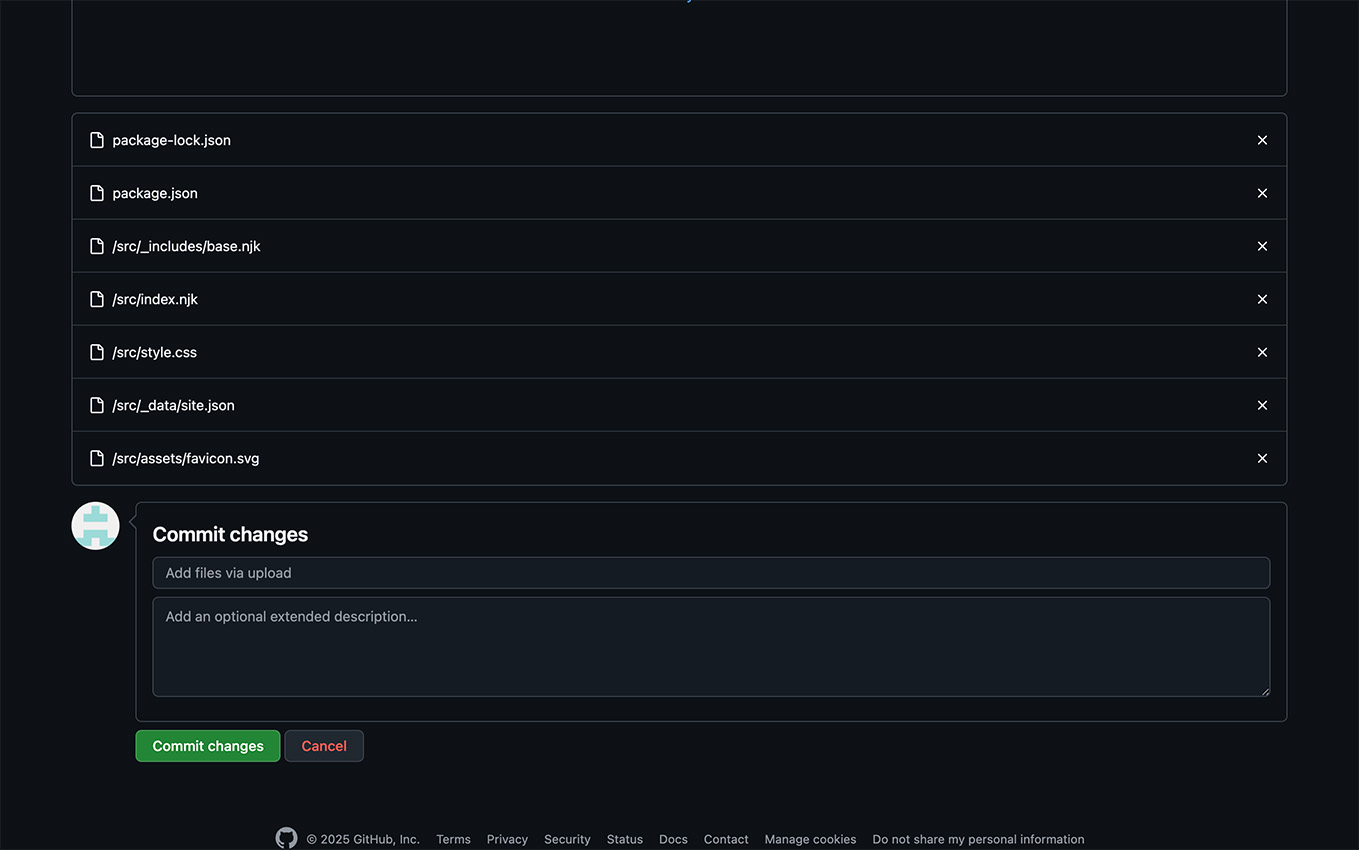
Option 2: Push via Git If you have Git installed on your computer, you can open a terminal in your project folder and run the commands shown in GitHub’s guide on pushing files to a repository. This will upload your files directly from your computer.
Important note:
Before uploading, create a file named .gitignore in the main folder of your project. Inside it, add the following lines:
_site
node_modules
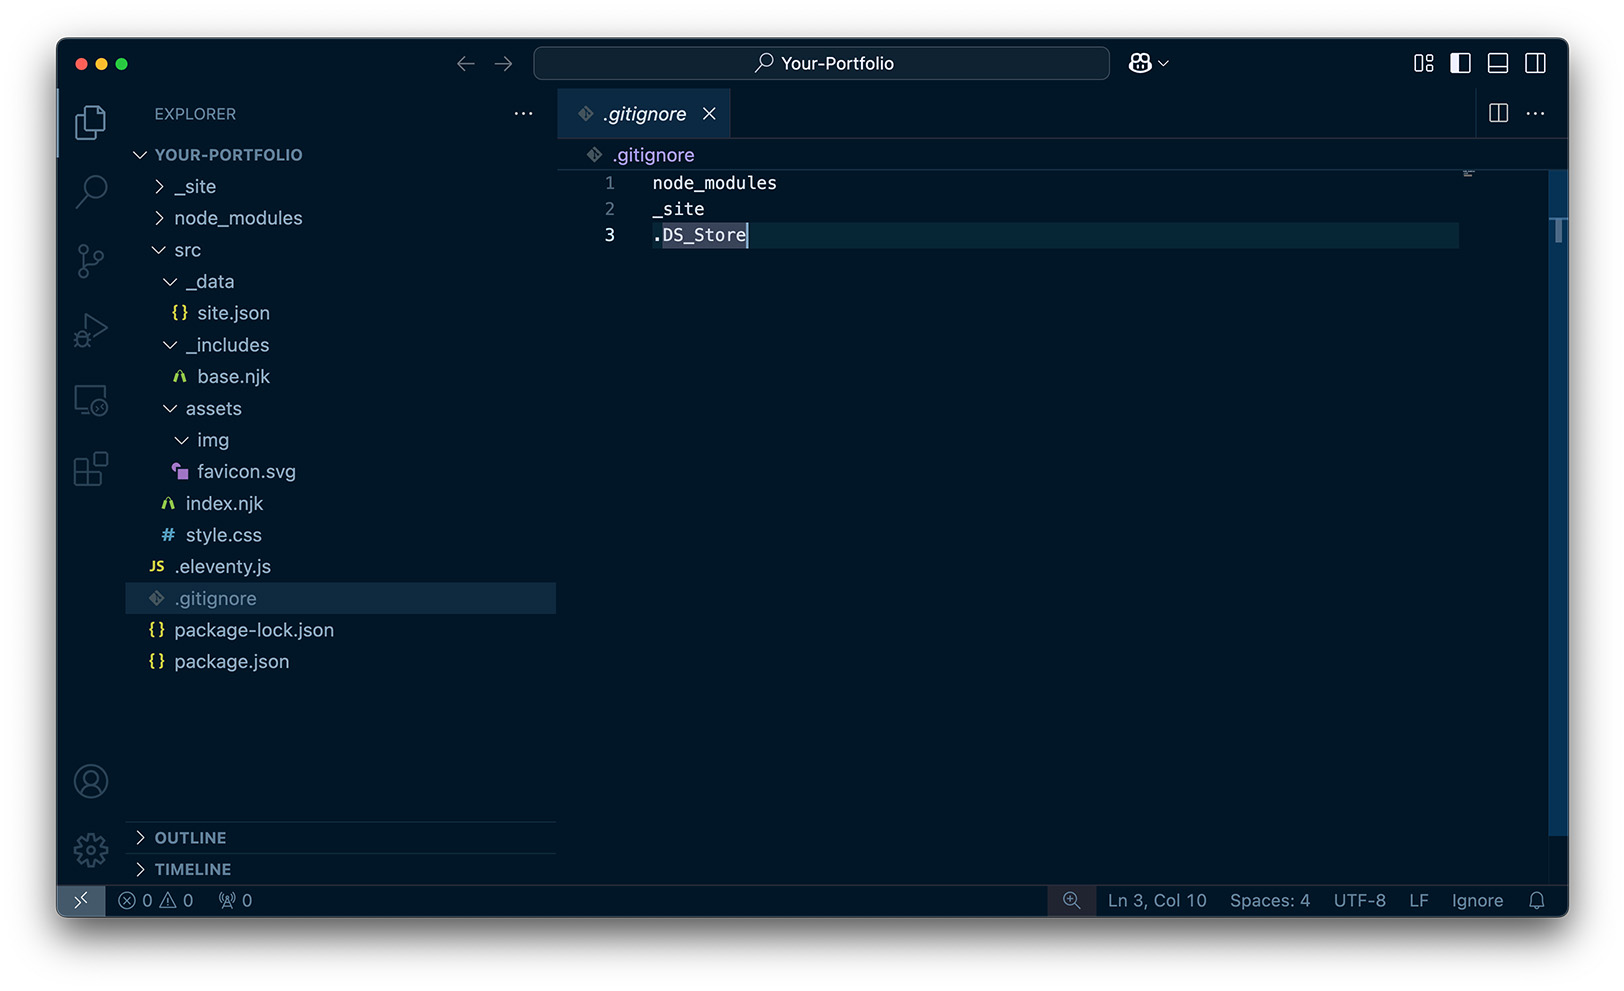
This tells GitHub to ignore the generated site files and the large node_modules folder so your repository stays clean. Don't worry Netlify will regenerate it for us.
6. Deploy to Netlify
6.1. Import from GitHub
Go to Netlify and sign in to your account. On your dashboard, click the Add new project button and choose Import an existing project.
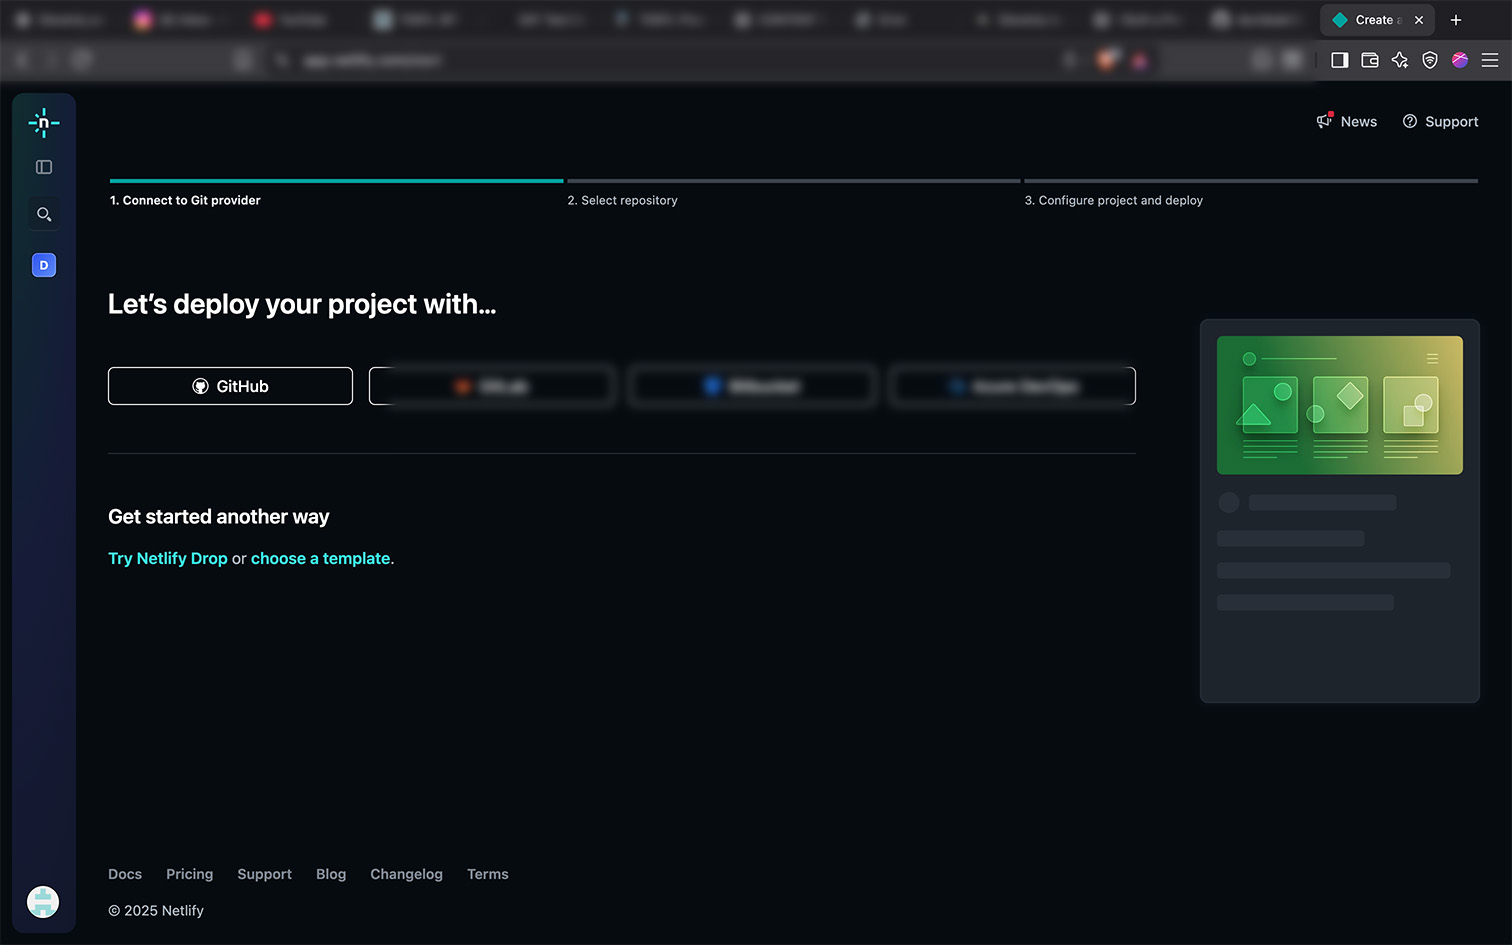
Select GitHub as your provider. If this is your first time connecting Netlify to GitHub, you will be asked to authorize access to your repositories. Approve the request so Netlify can see the project you just uploaded.
Once connected, choose the repository that contains your portfolio project.
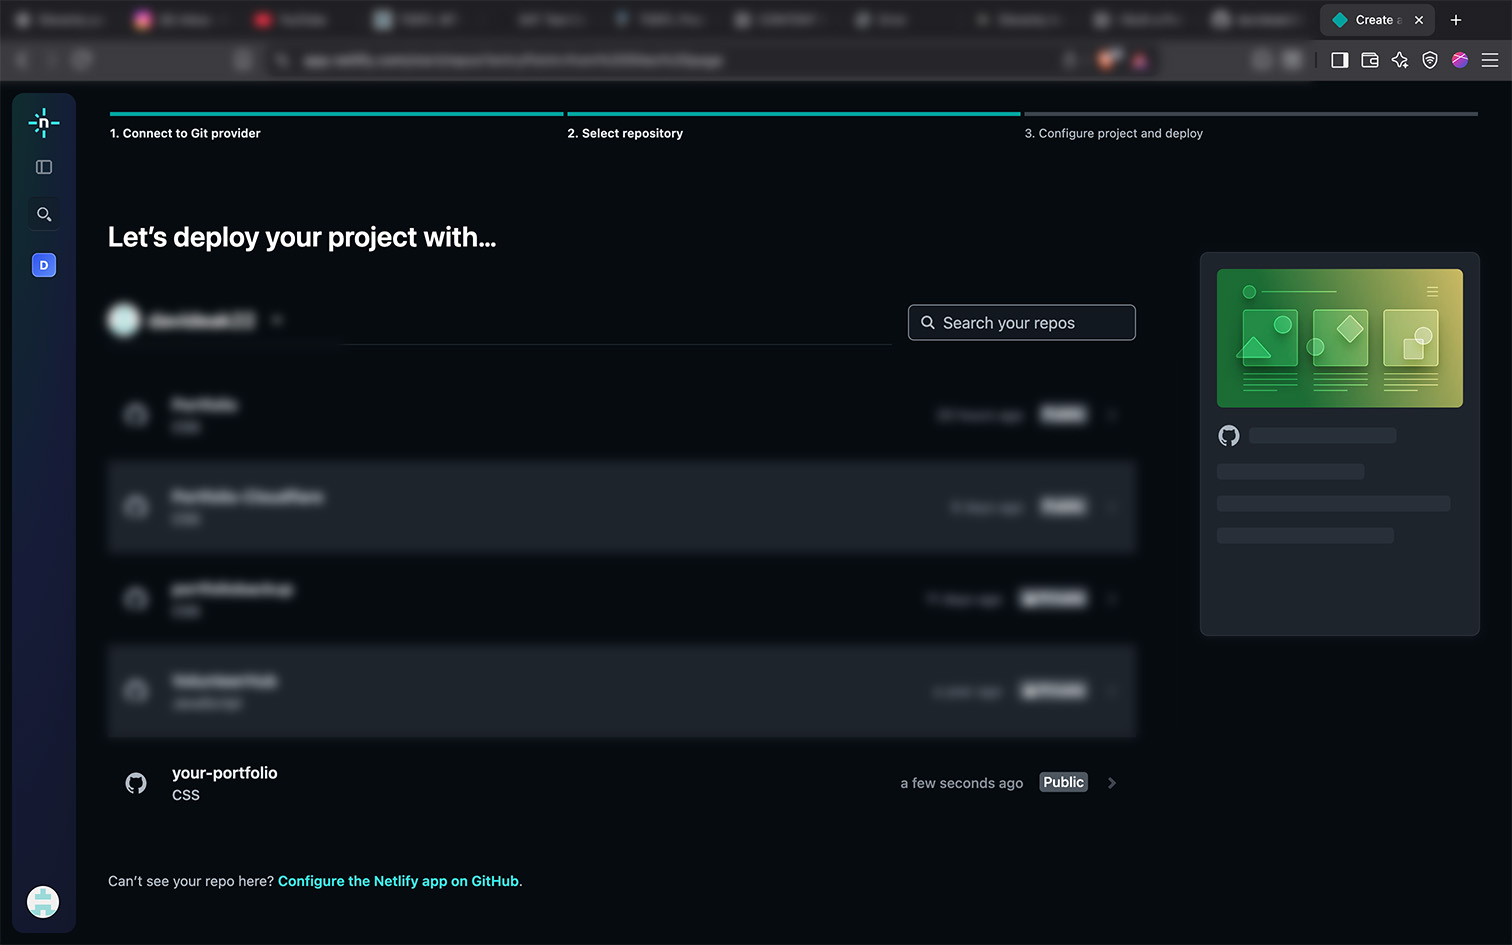
6.2. Confirm Build Command & Publish Directory
After selecting your repository, Netlify will ask for the build settings.
In the Build command field, type:
npm run build
In the Publish directory field, type:
_site
This is the default output folder for Eleventy and it is where the generated site files will be placed after the build process.
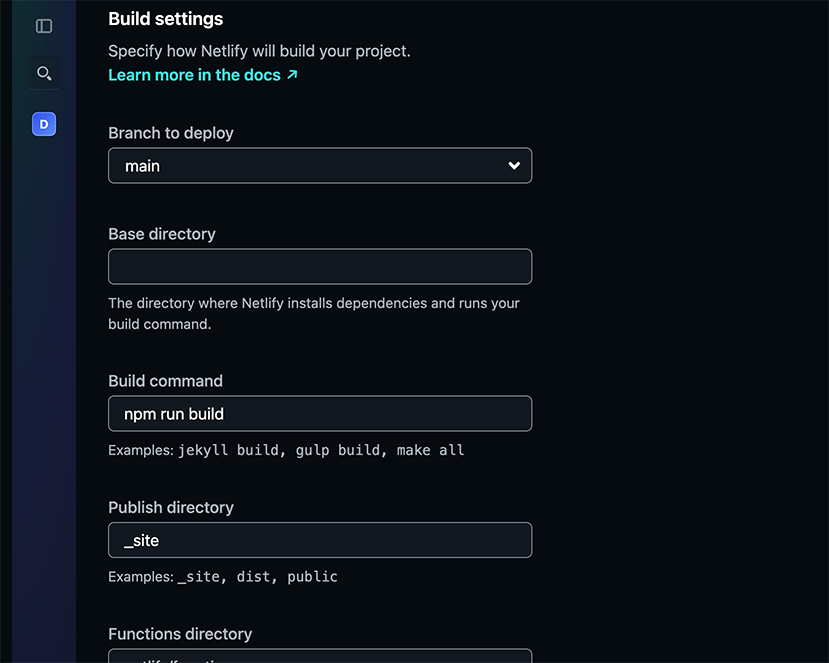
Click Deploy Your portfolio
7. Check Out Your New Portfolio
Once Netlify finishes building your site, you will see a success message and a link to your live portfolio. Click the link to open your site in a new tab.
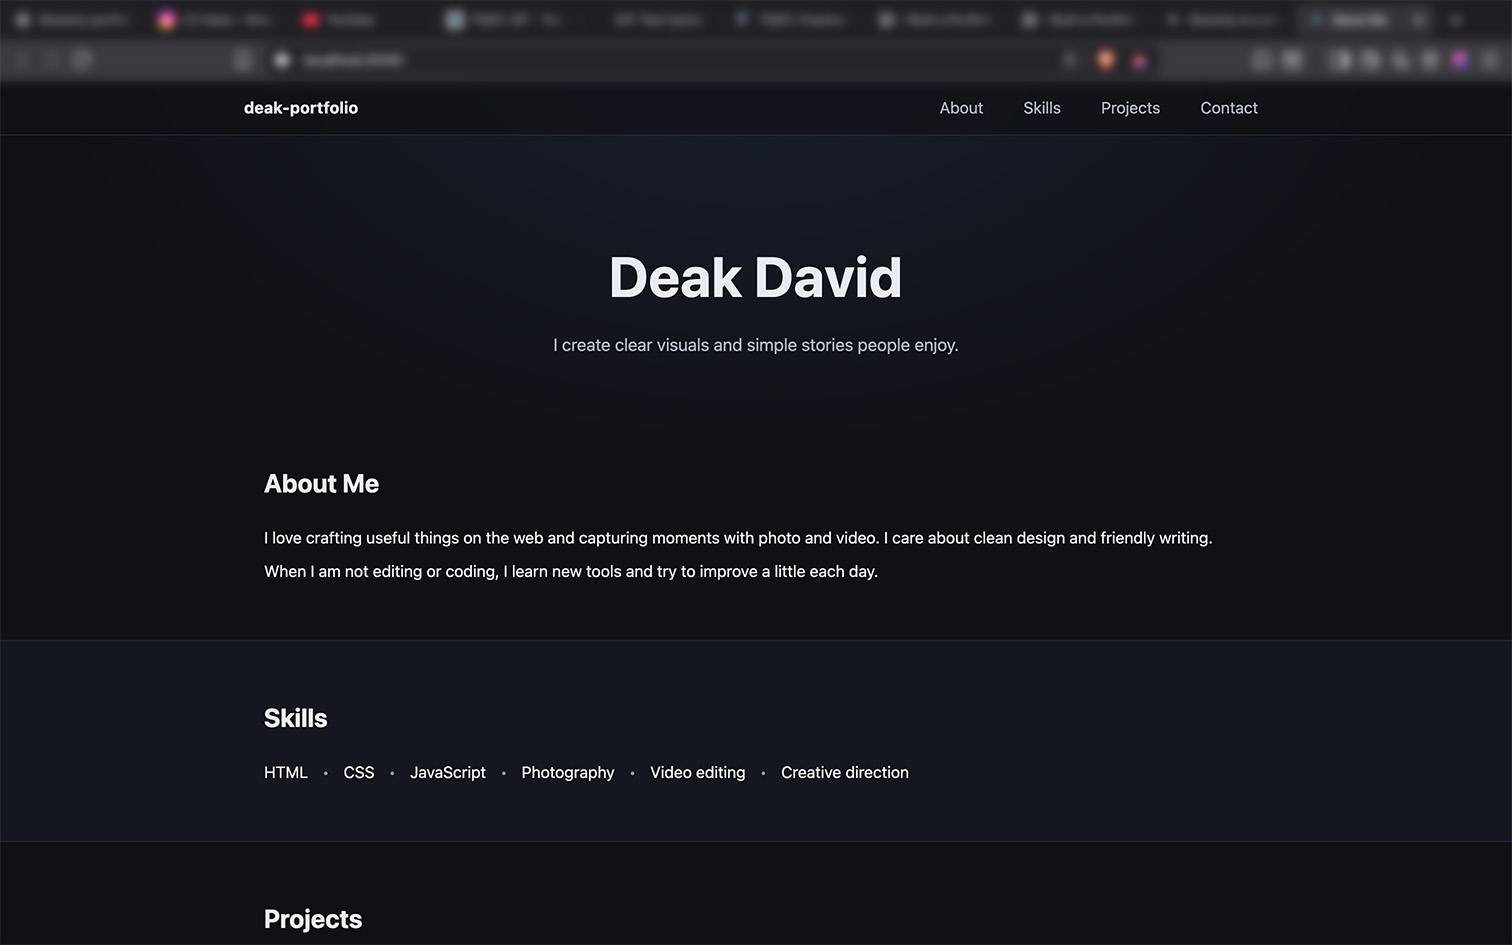
Take a moment to view it on both desktop and mobile. Make sure everything looks the way you want. If something seems off, you can always go back to your project, make changes, and push them to GitHub. Netlify will automatically rebuild your site each time you push an update.
Now you can share your portfolio link with anyone. Send it to potential clients, add it to your resume, or post it on social media so people can see your work instantly.
8. That’s All It Took
You just built and deployed a complete portfolio website without coding or spending a single cent. All it took was ChatGPT-5 to generate the site, GitHub to store it, and Netlify to host it.
I would love to see what you created. If you follow this tutorial and launch your own portfolio, share the link with me. Tag me on social media, or send it directly. It is always inspiring to see how others customize their sites.